For one general's success, ten thousand soldiers' bones are dried—what is the rejection rate in the process of making a good katana?
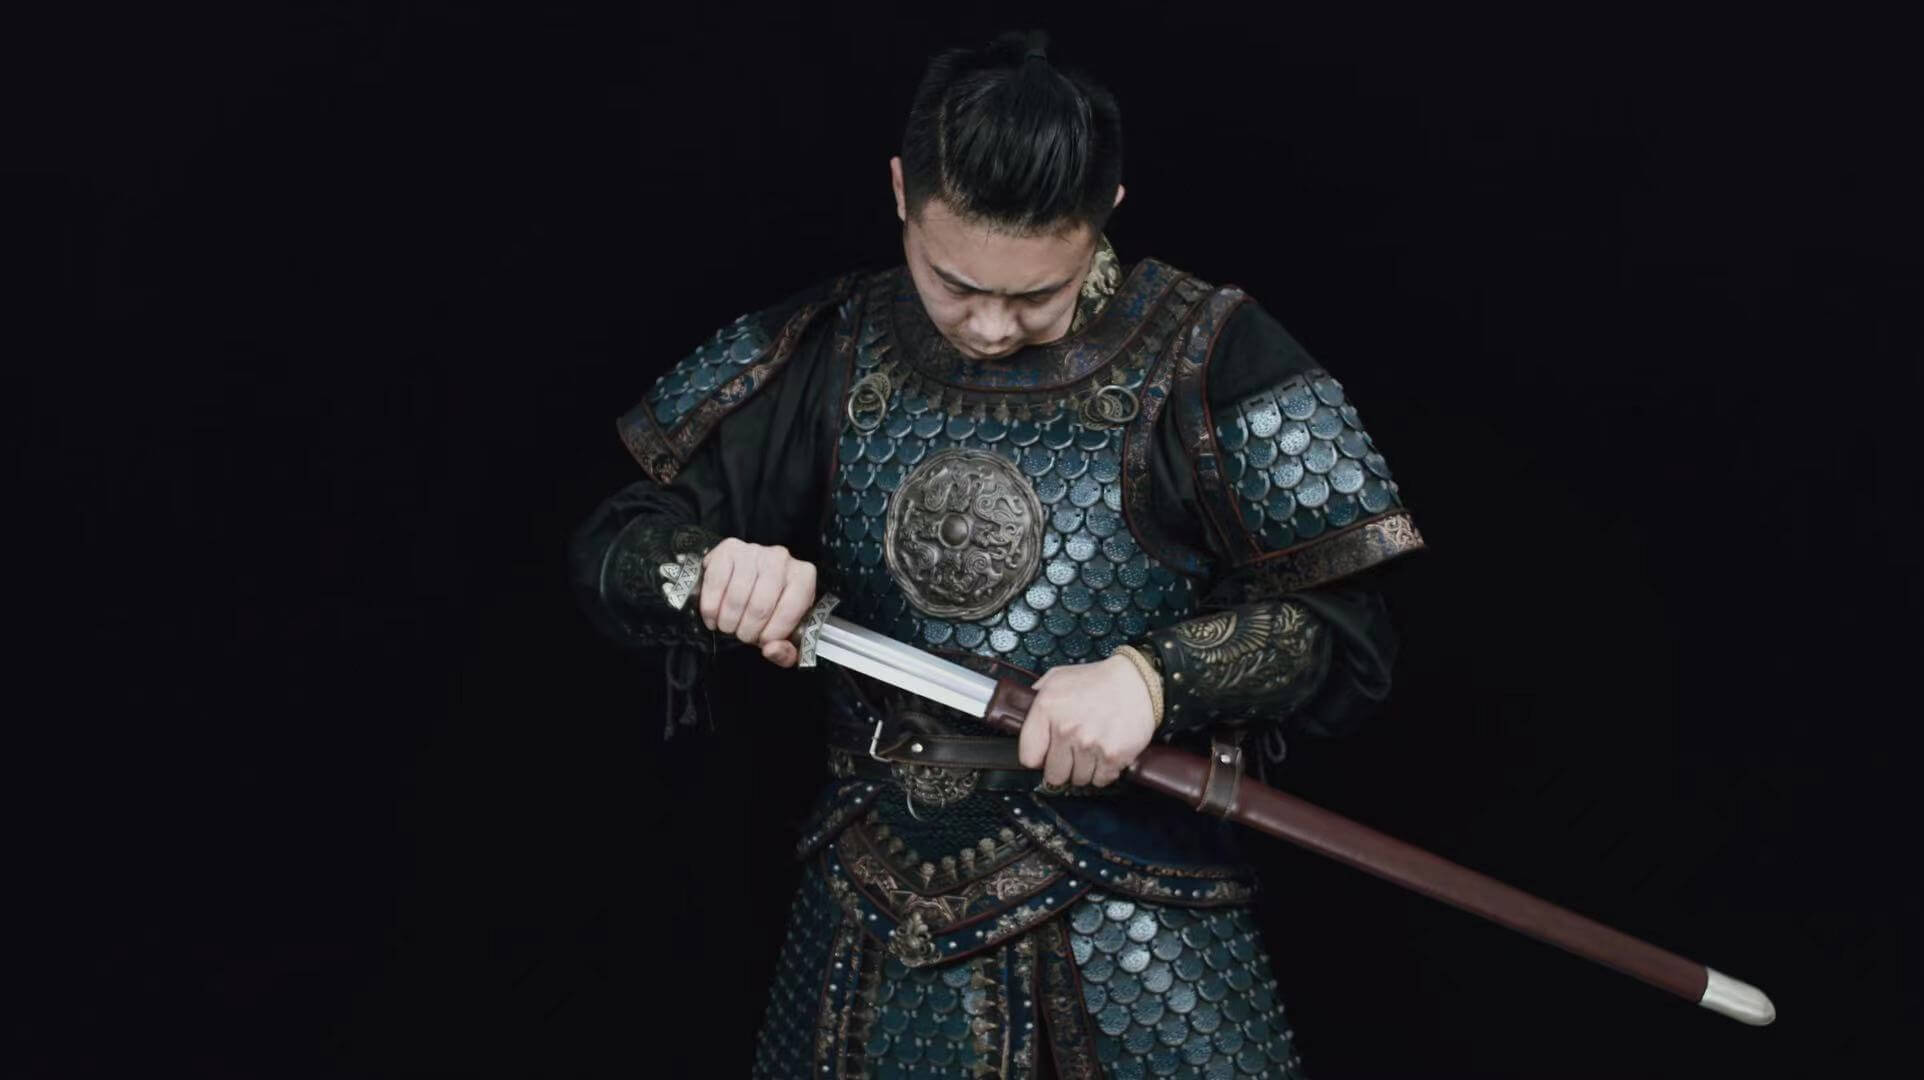
The Japanese katana has always been renowned for its sharpness, to the point where it can cut through a machine gun barrel in one stroke without sustaining any damage—something well-known to everyone.
As the saying goes, a good general, from starting as a low-ranking soldier to becoming a general, may have the blood of millions on his hands. This aligns perfectly with a line from a Tang Dynasty poem by Cao Song: "Do not speak of becoming a marquis; for one general's success, ten thousand soldiers' bones are dried."

Similarly, creating a top-tier katana requires tremendous effort, and a significant amount of steel is damaged in the forge. This aligns with our theme today: "For one general's success, ten thousand soldiers' bones are dried." Behind any top-quality item or the pursuit of perfection lies a significant amount of unseen effort and sacrifice.
Today, Swordier will take you behind the scenes of katana forging.
The art of sword making is still preserved by craftsmen who maintain traditional techniques. Shortly after World War II, sword making was banned, but in 1953, permission to craft swords was granted, recognized by the Cultural Affairs Agency's original Cultural Property Protection Committee. Since then, sword-making techniques have gradually improved. Today, master swordsmiths like Miyairi Shohei and Tsunahiro Yamashita have been designated as "Living National Treasures," important intangible cultural property holders.

The craftsmanship of sword-making can be traced back to the reverence for the Emperor's commissioned poetry from previous dynasties. During that time, Chinese sword-making techniques surpassed those of Japanese katanas. However, entering the Heian period, Japanese katana-making techniques gradually improved, becoming unmatched in the world. During the Kamakura period, sword-making techniques further advanced and were divided into several schools based on different methods. The five major schools known today—Yamashiro, Yamato, Bizen, Soshu, and Mino—originated during this period. Additionally, important roles like polishers, scabbard makers, and silversmiths, though fewer in number, have preserved traditional crafting techniques, making them invaluable.
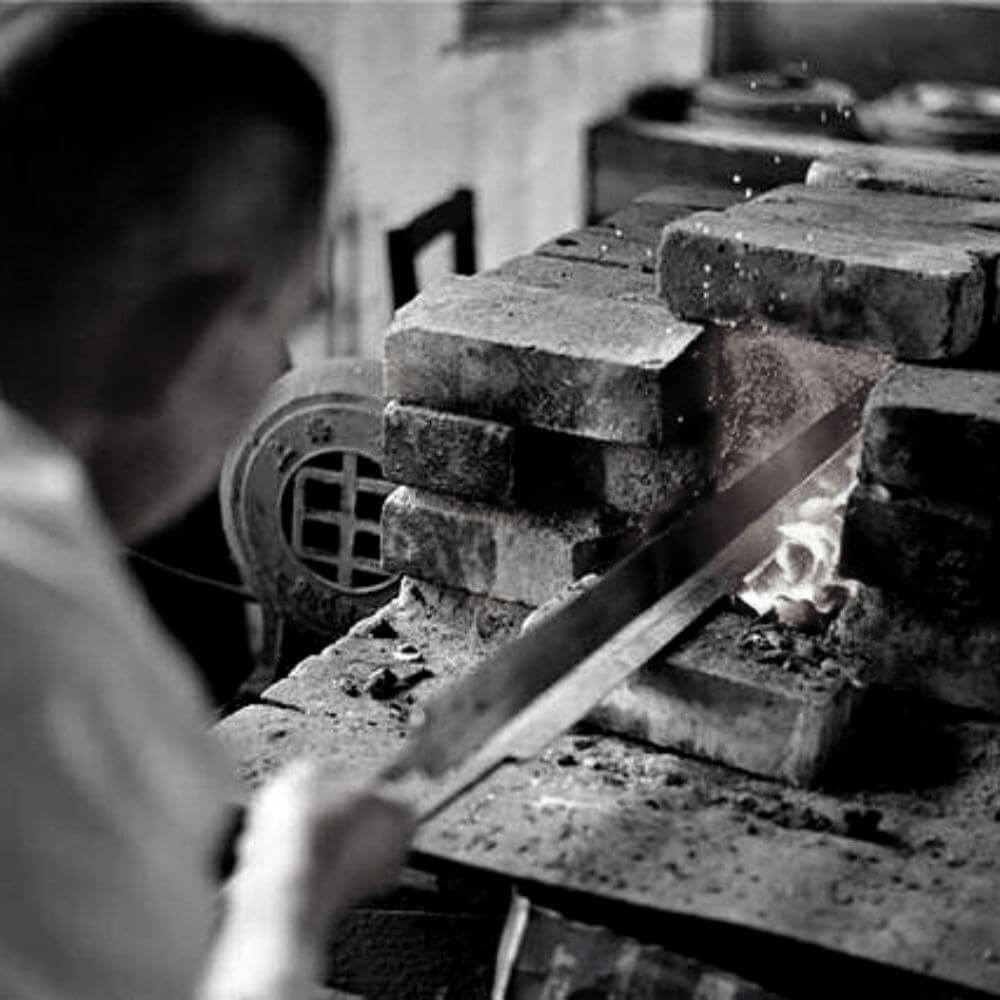
Step One: Forging
The creation of a Japanese katana, or forging, varies between different schools. Here, we'll introduce the most basic forging method:
Materials: The primary material for a Japanese sword is tamahagane, made by smelting iron sand. Since ancient times, regions producing high-quality iron sand have been home to famous craftsmen. For instance, the Yamashiro province of San'in, known for the renowned craftsman Yasutsuna, and Bizen in the San'in region of Okayama, have been prominent centers of sword-making.

Iron Plate Making: To make a 69 cm long blade, approximately 4.5 kg of tamahagane is prepared. Part of this tamahagane is melted and hammered into a rectangular shape, then bonded with an iron core. The remaining tamahagane is placed into the forge for hammering. It is then submerged in water and evenly divided into small pieces, which are placed on an "accumulating forge" and pushed together before being re-melted in the forge.
Next, the tamahagane is lightly hammered into a thick plate, heated, and flattened. The steel is folded in half with a steel chisel placed in the middle. This process is repeated ten to twenty times, which helps to expel impurities from the steel and reduce the carbon content to about one-fifth of its original weight, roughly 95 grams. During the smelting process, ash and muddy water are applied to the steel, helping to prevent surface decarburization and accelerate the healing of fold marks. Through this method of forging, various patterns and folds appear on the blade, enhancing its beauty and strength.

Core Steel Making: The process of making core steel (shingane) differs slightly from that of skin steel (kawagane). Soft iron is added to tamahagane and undergoes several rounds of folding and forging, reducing its carbon content to 0.25% and its weight to one-third of the original. This becomes the core steel, which is slightly softer compared to the skin steel.
Combined Forging: Once the skin steel and core steel are refined, the construction of the Japanese katana can begin. The core steel is placed in the middle, and the skin steel is wrapped around it. This is the most basic method of combining the steels. There are several other techniques, including kobuse (wrapped forging), orikomi (rolled forging), honsanmai (three-piece forging), and shihozume (four-sided forging). Here, we'll explain the commonly used kobuse forging method as an example.

Would you like to continue with the kobuse forging process or explore another technique in detail?
Basic Elongation (Sunobe): In kobuse forging, the refined core steel (shingane) is placed in the middle, and the skin steel (kawagane) is wrapped around it. In orikomi forging, the core steel is placed on top, the skin steel is placed on the bottom, and borax is used as an adhesive in the middle. The skin steel is hammered to envelop the core steel. This assembly is then heated in the fire and hammered to extend and shape it, a process known as "sunobe" (basic elongation).

Fire Shaping (Hi-zukuri): After the basic elongation (sunobe) process, the blade is further heated and hammered flat. The edge is thinned, the spine is raised, and the blade is given a slight curve, forming the preliminary shape of the katana. This stage is known as "hi-zukuri" (fire shaping).

Preliminary Finishing: After the fire shaping (hi-zukuri) process, the blade is placed in a specially designed vessel for an initial finishing process to refine its shape.
Clay Application: Once the blade's shape is defined, a mixture of clay, charcoal powder, and water is evenly applied to the entire blade, with a thinner layer on the edge. This coating is allowed to dry, which helps create the desired patterns and makes the blade harder and sharper.

Quenching (Yaki-ire): After the clay application, the light in the forging area is dimmed. The blade is then placed in the furnace and evenly heated. The swordsmith carefully monitors the color of the heated blade to determine the right moment to quench it in a water tank.
This step is the most mentally demanding part of the entire sword-making process. A single mistake can nullify all previous efforts. During this stage, the swordsmith must concentrate fully on their craft, ensuring the clay does not burn off while the blade is in the furnace. There is approximately a one-third chance of failure during this process, rendering the blade unusable if it fails.

Curvature Adjustment (Sori Naoshi): After quenching, the craftsman examines the blade's curvature to decide if any adjustments are needed. If the curvature is too pronounced, it is corrected to reduce it; if it is insufficient, it is corrected to increase it. This step is known as curvature adjustment.
Final Finishing: The last step in the forging process involves a rough polish of the blade to inspect it for any flaws or imperfections. The blade is then fitted with a scabbard, and the tang is filed and drilled. The craftsman uses a chisel to inscribe their name on the blade. After this, the blade leaves the hands of the swordsmith and is passed on to other specialists: a silversmith for the guard (tsuba), a scabbard maker for the scabbard (saya), and a polisher for the final sharpening and polishing. These steps enhance the katana's beauty and functionality, fully showcasing the allure of the Japanese sword.

A Good Sword Must Be Sharpened**: Without sharpening, it won't be sharp. However, the art of sharpening blades, especially Japanese katanas, is complex. Some katanas can only be sharpened a limited number of times throughout their entire lifespan; otherwise, they risk being completely ruined.
Step Two: Polishing
The primary function of polishing a sword is to make it sharp. Today, polishing also focuses on enhancing the sword's aesthetic appeal, requiring exceptional skill. Polishing is the final step and is crucial for a good sword, impacting its previous forging and heat treatment processes. Polishing witnesses all preceding craftsmanship and has a failure rate of about one-third.
Rough Polishing (Arato): Rough polishing involves using a coarse grinding stone to shape the edge. In the past, natural ocean stones were used, but now synthetic diamond stones are preferred. The sword is placed at an angle on the stone, with the back side polished from the handle to the tip, and the front side polished from the tip to the handle. After this initial stage, an Omura stone is used to polish the spine, the back bevel, and the cutting edge in sequence, removing spots and imperfections. This method is used for new swords. In later stages, the same techniques are applied to both rusty and new swords.

Would you like to continue with the polishing process or focus on a specific aspect?
Foundation Polishing (Honzuke): In this stage, the blade is polished to remove spots and imperfections. The process gradually transitions from using coarse stones to finer stones. Fine stones, which are softer, are mainly used for polishing the cutting edge, while harder stones are typically used for the blade body.
Polishing generally starts from the area closest to the body and moves towards the tip of the blade. Correspondingly, the polishing stone is worked from the tip back towards the handle. Foundation polishing is extremely important; if the blade is not adequately polished at this stage, the katana's true characteristics cannot be fully realized. Therefore, skilled polishers often consider foundation polishing to be more crucial than the final finishing.

Would you like to proceed with the steps involved in the final finishing or explore more details about the foundation polishing?
Polishing: This step focuses on the spine and the ridges of the blade. A fine steel rod called a "polishing stick" is used, wrapped in silk cloth and dipped in oil to polish these areas. This technique enhances the shine and brings out the blade's beauty.
Polishing the Tip (Kissaki): Polishing the tip of the blade starts with its sides. A special polishing stone is used to horizontally polish the tip. Then, on a special workbench covered with five or six sheets of paper, a small polishing stone, about 5 cm long and 2 cm wide, is used to polish the tip. With this, the polishing process comes to an end.
Would you like to know more about any specific part of the polishing process or about the final steps in katana crafting?

Creating a top-tier katana involves significant challenges, with a one-third failure rate during forging, another one-third failure rate during heat treatment, and the final risk of failure occurring during polishing. If any of these stages are not handled with precision, the blade could be rendered useless. As the complexity of the crafting process increases, so does the failure rate at each stage. It can take craftsmen one to two months to complete a single katana, even for a standard handcrafted one. The time and effort required increase with the complexity of the blade, which is likely why many people are passionate about collecting traditional swords.
Would you like to explore any specific aspect of katana crafting or the reasons behind its cultural significance further?

Cotización de bloque de muestra
Texto de párrafo de muestra
Destacados
- De $199.00
- De $199.00
- Precio unitario
- por


- $289.00
- $289.00
- Precio unitario
- por


- De $349.00
- De $349.00
- Precio unitario
- por


- $129.00
- $129.00
- Precio unitario
- por


- $329.00
- $329.00
- Precio unitario
- por